As for the replacement, it goes without saying: the old one has given up! A storage water heater has a lifetime, like all of its elements, and spent ten years, and it is not uncommon for one of its components to be in fault.
 Replacing a thermostat, a resistor or an anode on a water heater for ten years carries a risk: that of remaking a new piece by piece its water heater and having a bill to pay heavier than for a standard exchange.
Choosing an installation is different and to choose the right electric water heater, several criteria are to be considered as the number of people living in the home, the quality of the water and the degree of finish of the product.
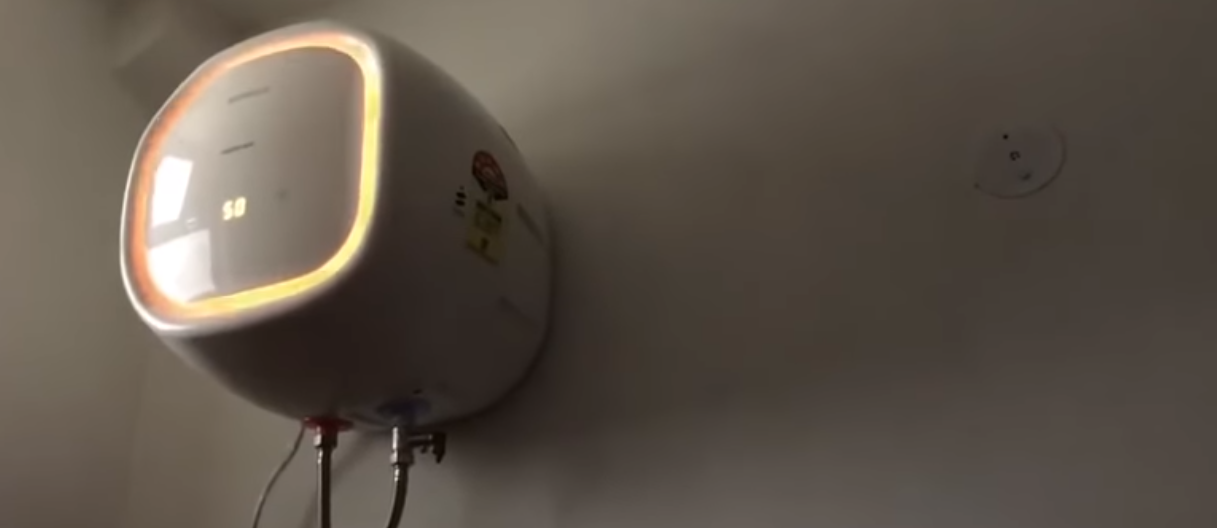
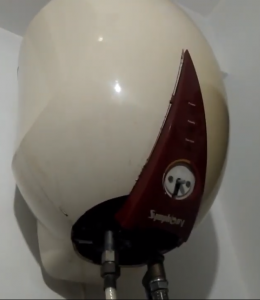
Here is a detailed illustration of the different components of the installation of an electric storage water heater and in this guide, the various installation steps from the removal of the old tank until commissioning.
Replace Your Storage Water Heater In 5 Steps
Know How
You can divide the replacement or installation of a storage water heater in 5 steps – the number of steps being at the discretion of the user, of course! In terms of the time required, allow about 4 hours: 1.5 h for draining the water heater; 2,5 hours for disassembly and assembly. Question skills and tools, the installation of a hot water tank is secure, and after viewing the installation guide, even the least handyman can complete the site. If you are not color-blind, you know how to use a drill, a spirit level, a meter, and a flat key: you can be the best plumber of a day!
Installation Steps
- Drain the hot water tank
- Disconnect and remove the water heater
- Install the new water heater
- Connect the electric water heater
- Commissioning of the storage water heater
Tools and consumables
- A drill with percussion mode if the first installation with a tape measure, a spirit level, and a pencil.
- A pair of pliers and 1 set of wrenches.
- An electrician’s screwdriver.
- Of the tow, the sealing paste and fiber seal 20 x 27 mm (3/4 ”).
- Anchors adapted to the support and fixing studs.
- Accumulator water heater accessories
- A security group and its siphon.
- An expansion tank, according to the installation.
- Of dielectric fittings.
- Connection hoses – depending on the installation.
- A thermostatic mixing valve.
- A pressure reducer – depending on the configuration; necessary if pressure above 3 bar (B).
Installation time and people needed
About 4 hours of assembly, including emptying.
1 or 2 people for the removal and installation of the ball.